
How to Change Spark Plugs Mazda 3
How to change spark plugs 2011 Mazda 3: 2011 Mazda 3, four cylinder naturally aspirated engine. Procedure for replacing spark plugs is identical for 2008 to 2013 Mazda 3 models (expect Sky-active engine which is different).
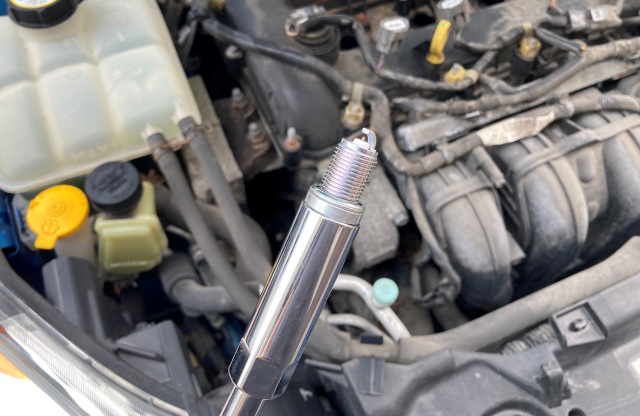
Mazda 3 Spark Plug Type
Spark plug type is NGK 90083 LTR5BI-13 Laser Iridium, cost is about $15 per plug. Use iridium spark plugs as longevity is high combines with very good performance. Spark Plug Operation.
Spark plugs are maintenance item and should be replaced periodically. However, very few do that until their engine start misfiring. Worn and old spark plugs will create higher resistance and damage engine ignition coils. Also, engine performance and fuel efficiency will suffer. When to Replace Spark Plugs.
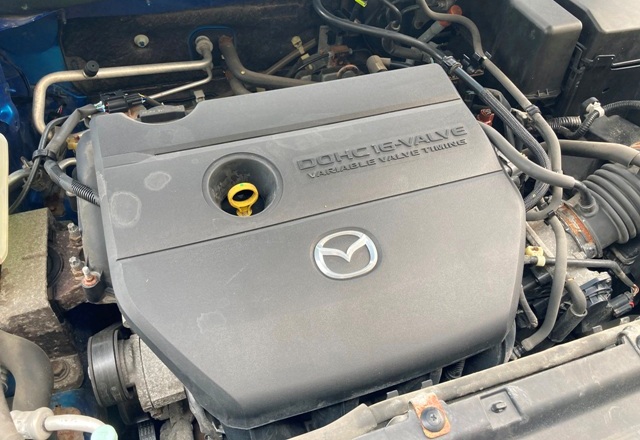
Important: This a normal 2.0 liter engine, not Sky-Active one. Sky-Active engine has 14mm spark plugs not 16mm, you will need a 14mm spark plug socket instead of 16mm and also different spark plugs. Spark plug type for Sky-Active engine is NGK LKAR7BIX 11S Iridium.
Tools Required
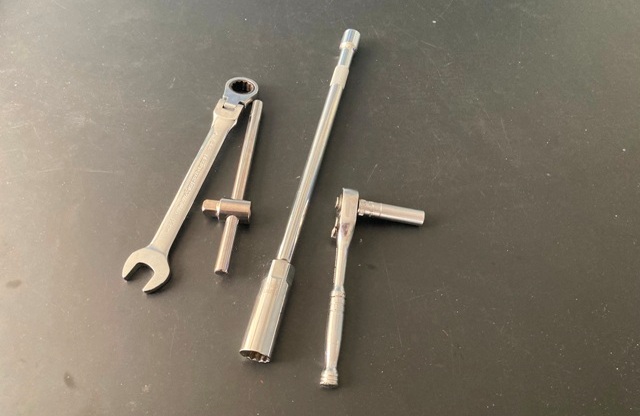
16mm Spark Plug socket, extension and ratchet. 8mm deep socket and ratchet. 15mm open wrench, flat screwdriver and grease or anti-seize compound.
2011 Mazda 3 Spark Plug Removal
Step 1: Remove Engine Cover
Remove keys from ignition and open hood. Engine cover is secured with four clips, it does not have any screws. Pull engine cover and release clips. Remove engine cover.
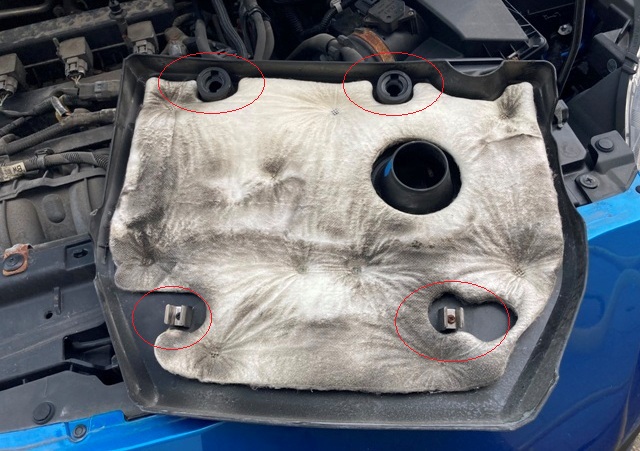
Image above shows engine cover clips location, one on each corner.
Step 2: Remove Engine Cover Holders
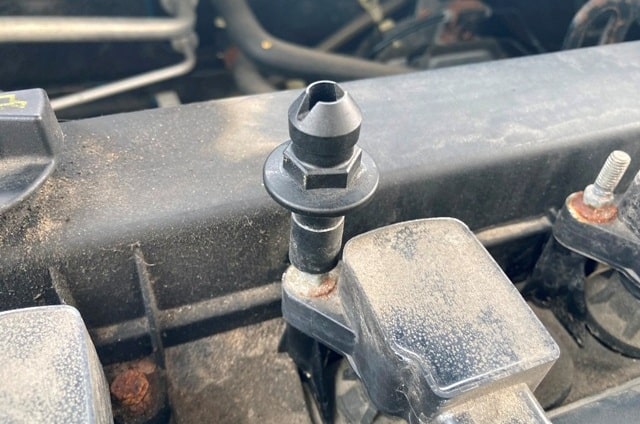
Engine cover is held in place by two rubber fasteners on top side (image below). Use 15mm wrench and unscrew plastic holders and remove them.
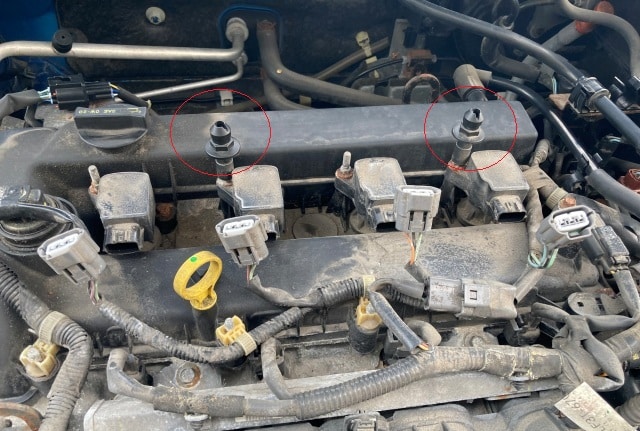
You can also use a pair of plies if you dont have a 15mm wrench. Those are plastic and will come out easily.
Step 3: Unplug Ignition Coils
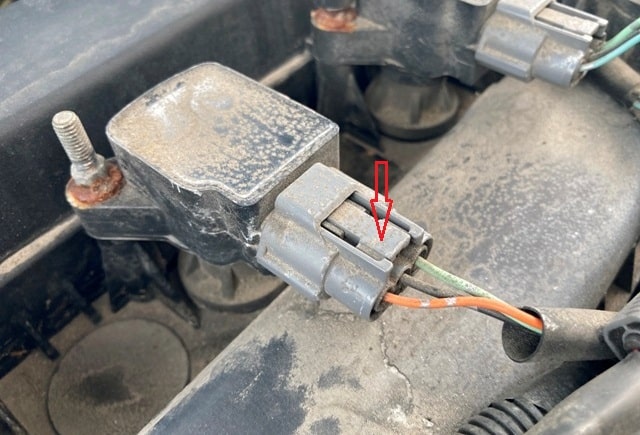
Ignition coil electrical connectors are held in place with a clip located on center of connector. Press on release tab and pull ignition coil connector to separate it from ignition coil (image below). Do the same on all four ignition coil connectors.
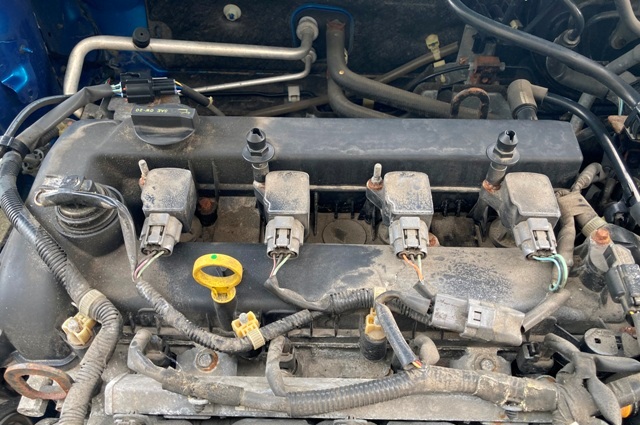
Step 4: Remove Ignition Coils
Ignition coils are secured on engine cover with 8mm bolts. Use 8mm socket and ratchet to remove 8mm bolts on all ignition coils. Remove bolts and then pull on engine coils to remove coils.
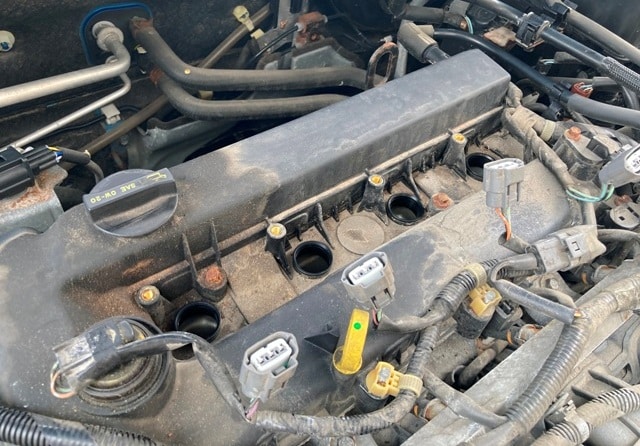
Check for oil traces inside ignition coil holes. If you see engine oil then valve cover gasket and spark plug o-ring seals need to be replaced.
Engine oil on ignition coils holes will cause ignition coil rubber boot deterioration and engine misfires. Also, check ignition coils rubber boots for cuts or deterioration.
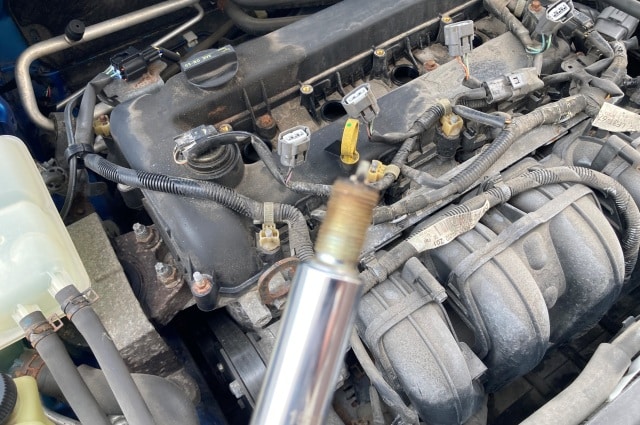
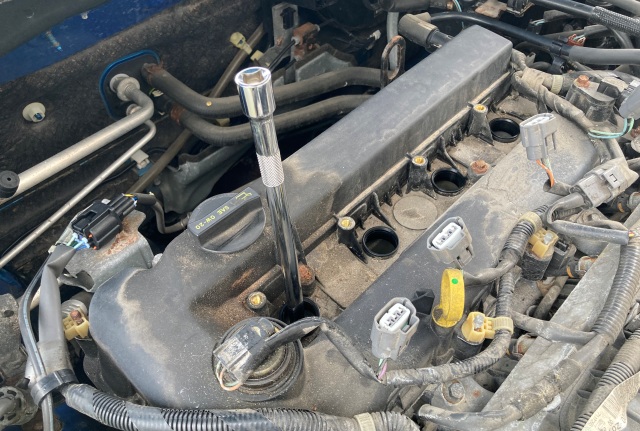
Step 5: Remove Spark Plugs 2011 Mazda 3
Use 16mm spark plug socket and ratchet to remove spark plugs.
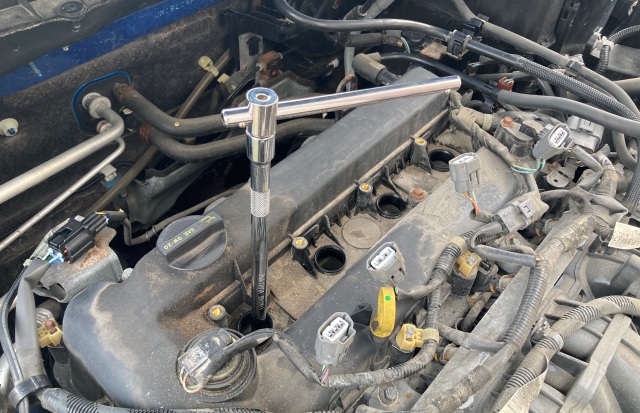
Start from number one cylinder and continue with others until all spark plugs are removed.
Replace spark plugs on a cold engine as its easier to remove spark plugs than on a hot engine, you dont want to burn yourself either.
New Spark Plug Installation Mazda 3
Step 1: Prepare New Spark Plugs
Use grease or anti-seize compound on new spark plug threads. This will make installation easier and will prevent spark plugs from seizing on engine head. Check spark plugs for visual damage on porcelain insulator or firing electrodes.
Step 2: Install New Spark Plugs
Install new spark plugs by hand using socket and extension only. Do Not Use Ratchet or Force to install new spark plugs initially. Using ratchet risks damaging engine head threads if spark plugs are not threaded straight.
Expensive repairs will follow if that happens. Thread spark plugs in by hand only, use ratchet to tighten after hand installation.
New Spark plugs are gaped from factory. You do not need to gap them again. Spark plugs are ready to be installed out of the box.
Insert a new spark on socket and using extension slowly thread it on engine head, as much as you can. Do the same on all spark plugs. Now, use ratchet to tighten spark plugs. Do not overt tighten spark plugs, just tight enough.
Usually, it takes a maximum less than one full turn to fully tighten spark plugs after hand installation. Tighten all four spark plugs. Spark plugs have a crush washer seal. You will feel when washer is crushed and thats tight enough.
Step 3: Ignition Coil Installation Mazda 3
Install ignition coils on engine head holes and press them in. Align hole on engine coil with hole on engine cover. Push ignition coils firmly all the way in. Install ignition coil 10m bolts and tighten them.
Plug ignition coil electrical connectors. Align ignition coil connector on ignition coil plug and press connector until you hear locking tab click in place. Pull on connectors to make sure are secure in place.
Step 4: Install Engine Cover
Install engine cover plastic holders and tighten them using 15mm wrench or pliers. Do not tighten those too much, very fragile and break easily. You can even do it by hand within using any tools and will be good enough.
Align engine cover with clips on engine cover and press it in until it locks in place.
Step 5: Check Engine Operation
Start engine and leave it idling for a minute or so, to confirm everything is operating normally. Take for a short drive to make sure everything is working normally.
(If you are also looking for a fast and safe solution to sell your car, more here on “How To Sell Your Car Fast” ).
Comments: If you have any questions related to this post or Used Car Toronto in general, don’t hesitate to use comment section below.